In this article, we will help you to install Cockpit Web Console in CentOS 8 server to manage and monitor your local system, as well as Linux servers situated in your network environment. You will also learn how to add remote Linux hosts to Cockpit and monitor them in the CentOS 8 web console.
The Cockpit is a web console with an easy to use web-based interface that enables you to carry out administrative tasks on your servers. Also being a web console, it means you can also access it through a mobile device as well.
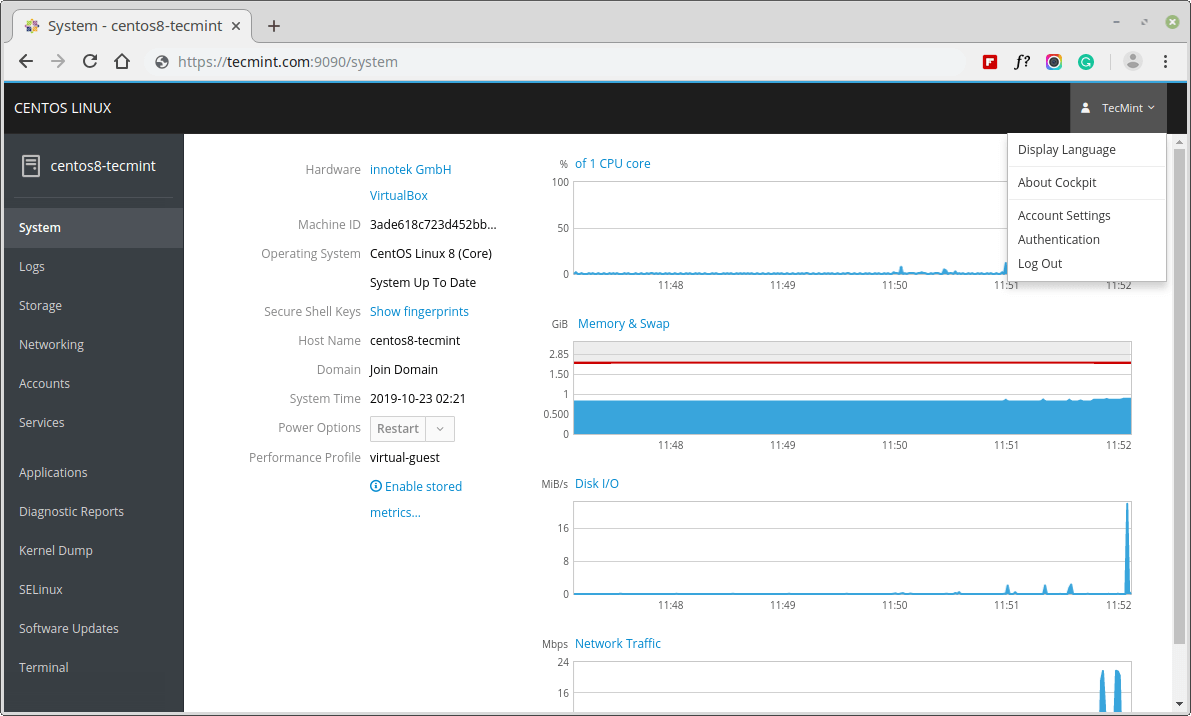
The Cockpit web console enables you a wide range of administration tasks, including:
- Managing services
- Managing user accounts
- Managing and monitoring system services
- Configuring network interfaces and firewall
- Reviewing system logs
- Managing virtual machines
- Creating diagnostic reports
- Setting kernel dump configuration
- Configuring SELinux
- Updating software
- Managing system subscriptions
The Cockpit web console utilizes the same system APIs as you would in a terminal, and tasks performed in a terminal are quickly reflected in the web console. In addition, you can configure the settings directly in the web console or through the terminal.
Installing Cockpit Web Console in CentOS 8
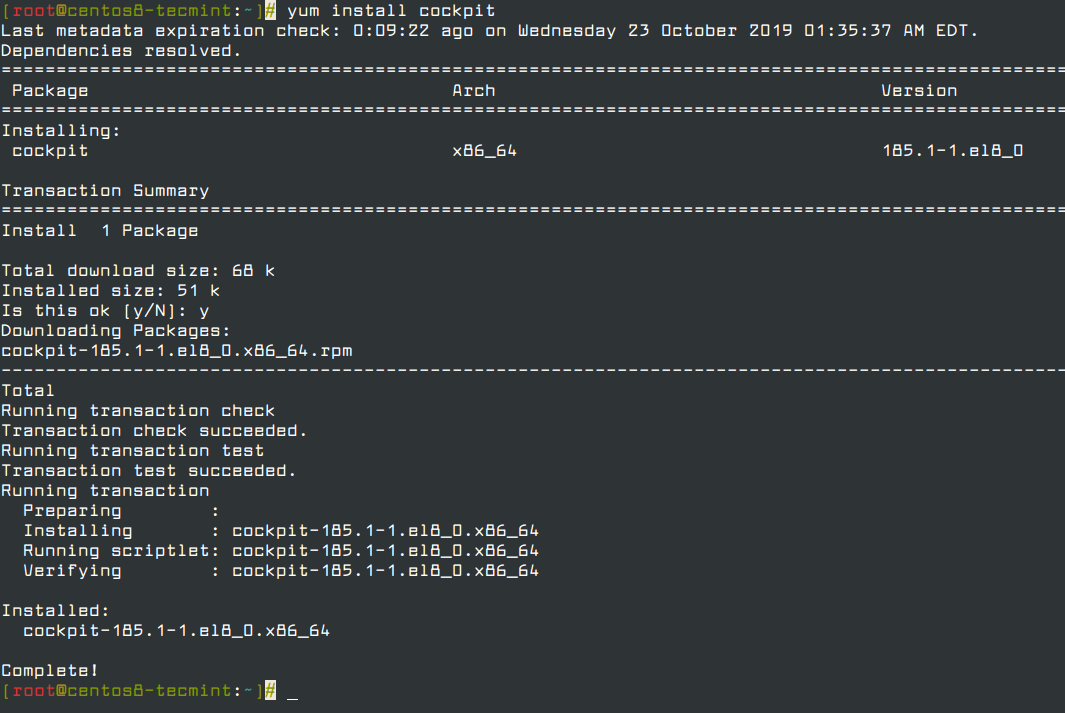
1. With CentOS 8 minimal install, the cockpit is not installed by default and you can install it on your system by using the command below, which will install the cockpit with its required dependencies.
# yum install cockpit
2. Next, enable and start the cockpit.socket service to connect to the system through the web console and verify the service and running the cockpit process using the following commands.
# systemctl start cockpit.socket
# systemctl enable --now cockpit.socket
# systemctl status cockpit.socket
# ps auxf|grep cockpit

3. If you are running a firewalld on the system, you need to open the cockpit port 9090 in the firewall.
# firewall-cmd --add-service=cockpit --permanent
# firewall-cmd --reload

Logging in to the Cockpit Web Console in CentOS 8
The following instructions show the first login to the Cockpit web console using a local system user account credentials. As Cockpit uses a certain PAM stack authentication found at /etc/pam.d/cockpit, which enables you to log in with the user name and password of any local account on the system.
4. Open the Cockpit web console in your web browser at the following URL’s:
Locally: https://localhost:9090
Remotely with the server’s hostname: https://example.com:9090
Remotely with the server’s IP address: https://192.168.0.10:9090
If you are using a self-signed certificate, you will get a warning on the browser, simply verify the certificate and accept the security exception to proceed further with the login.
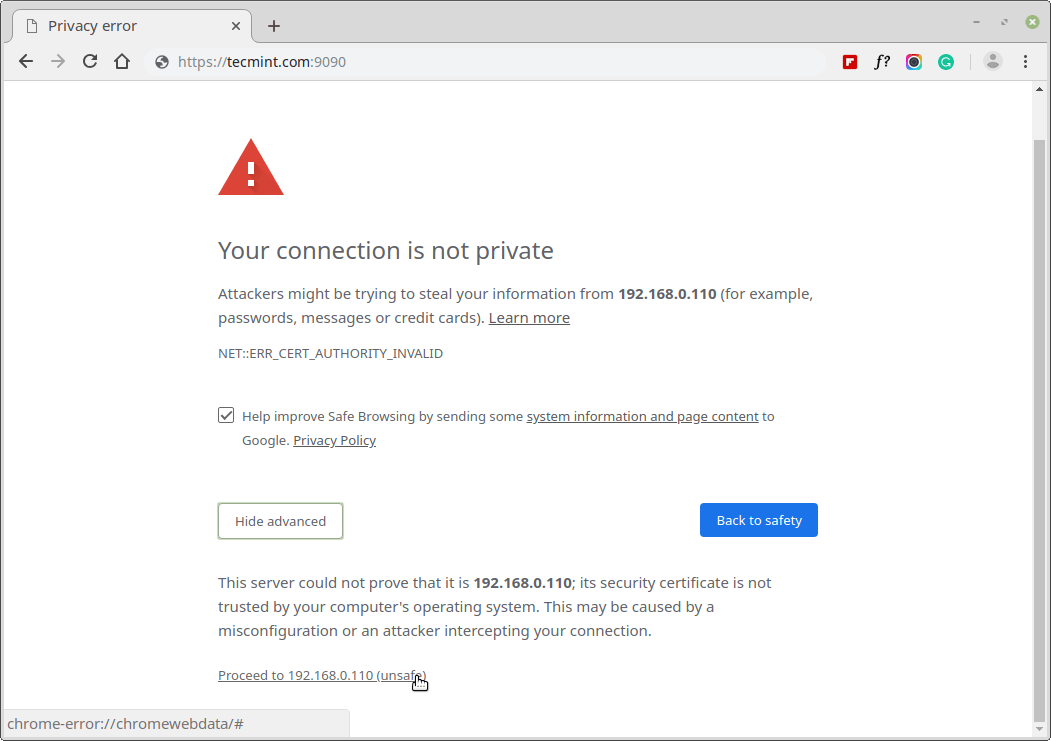
The console calls a certificate from the /etc/cockpit/ws-certs.d directory and uses the .cert extension file. To avoid having to prompt security warnings, install a certificate signed by a certificate authority (CA).
5. In the web console login screen, enter your system user name and password.
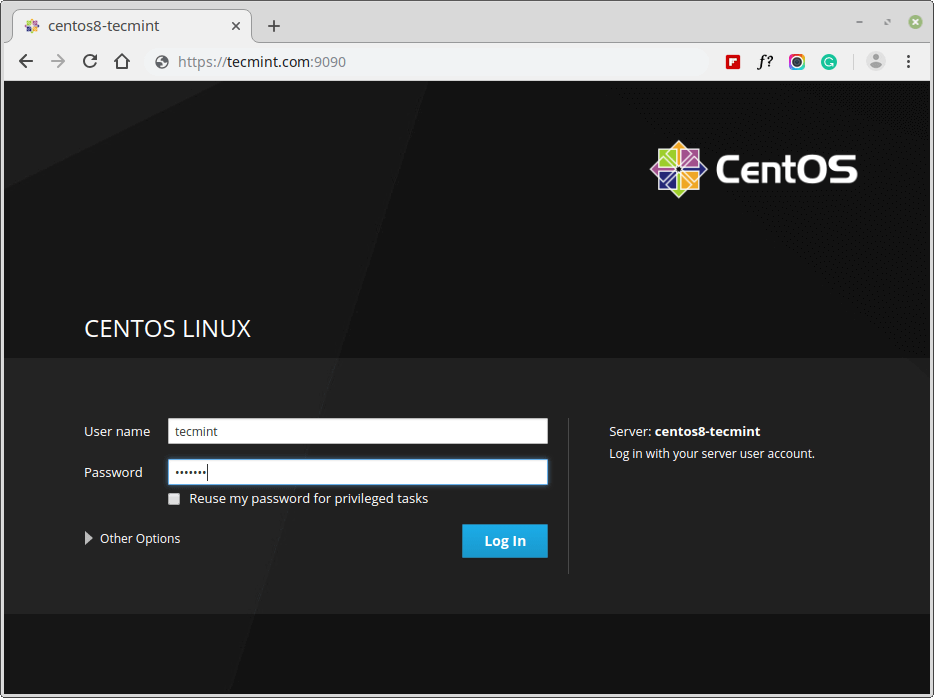
If a user account has sudo privileges, this makes it possible to perform administrative tasks such as installing software, configuring system or configuring SELinux in the web console.
6. After successful authentication, the Cockpit web console interface opens.
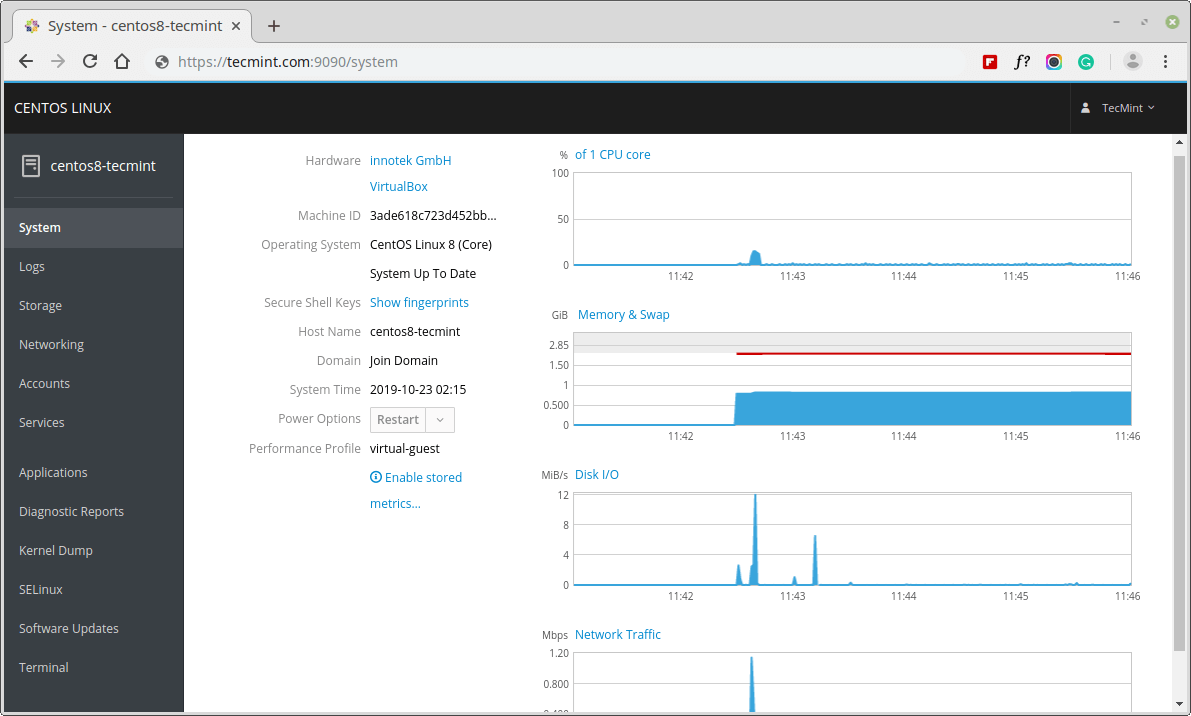
That’s it for now. The cockpit is an easy to use web console that allows you to perform administrative tasks on CentOS 8 server. To learn more about web console, read how to configure system settings in the web console.
source: https://www.tecmint.com/install-cockpit-web-console-in-centos-8/